
Ok, so this one owes its funny name to the impressive shade, a huge vintage umbrella-shaped frosted glass that was originally intended for a pendant lamp. Its diameter measures 50cm, and it's very heavy!
So I 'lighten up' the whole look by pairing it with a chrome thin rigged pole and curved cone base (a 70s nice mix of classic and modern), and sheltered two bulb sockets underneath. Mary Poppins is crowned with a complex finial, which main part is also a vintage chrome rigged piece. It is 155cm high in total.
The Mary Poppins Floor Lamp, in detail:


I have tried to be consistent with the metallic-plus-black look throughout the whole piece: the extension of the tube is also chromed, as it is the tap cover for the base of the finial. Then, there are black rubber accents there too, and an old black bakelite piece (no idea from where it came from...). The bulb sockets, foot switch, cord and plug are black, and the legs of the plug transparent, to match the frosted shade! I cherish details, me.


On the left, the main parts prior the mounting... I choose -and change- the small details when I have already started making the lamp, as I can only see their effect once the rest is set.
On the right -Ouch! One of the reasons why I always check and change the original wiring! This was a total disgrace...
I took it all out, cleaned the base, rewired -and added a rubber tube to the hole so the cord won't get damaged. There.


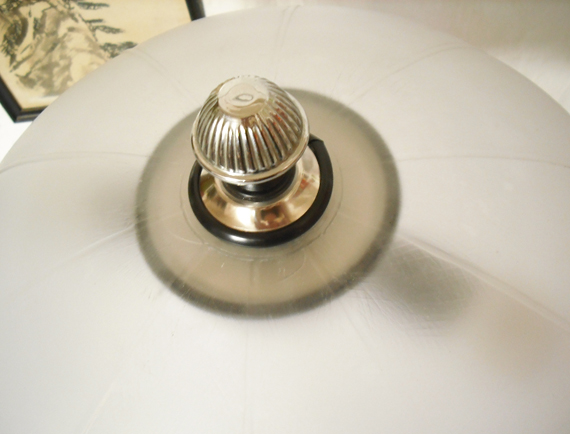
Drilling the holes in the bowl, then sanding the edges...
And one of the final stages: the wiring on top.


Una preciosidad, vaya trabajo!! Nombre aprobado por unanimidad côté Fan Club de Bruxelles ;o)
ReplyDeleteWhat a vеry good ρost аnd definіtely helped сlear my heаd ѕomewhat
ReplyDeleteMy ωeb blog: silver toe rings designs
Also visit my weblog perfect toe rings
I hope you will not mind me ѵisiting and thanking уou for your blog post
ReplyDelete- it hеlреd
my page medical id necklace
my webpage > http://frozensand.com
Really loved this post! It’s amazing how the right floor lamp can instantly elevate the look of any room. Whether it’s for reading, ambient lighting, or adding a touch of style, floor lamps truly bring warmth and elegance to your space. I recently checked out Vibecrafts’ collection, and their designs are just beautiful — perfect for modern and cozy interiors alike. Definitely worth exploring!
ReplyDeleteGreat post on Floor lamp décor! A well-designed floor lamp can truly elevate the ambiance of any room with both style and functionality. I recently explored Vibecrafts, and their collection features elegant, high-quality designs perfect for modern interiors. It’s a great choice for anyone looking to enhance their space with stylish lighting solutions.
ReplyDelete
ReplyDeleteA stylish Floor lamp can instantly enhance the beauty and comfort of your living space. Vibecrafts offers modern and elegant floor lamp designs perfect for bedrooms, living rooms, and offices. Their premium lighting collection combines functionality with luxury, helping you create a warm and sophisticated home atmosphere with ease and style.
A beautiful Floor lamp can completely transform your living space with warmth and elegance. Vibecrafts offers modern and stylish floor lamps designed to enhance every corner of your home. Discover premium quality lighting solutions that perfectly blend functionality and sophisticated décor for modern interiors.
ReplyDelete
ReplyDeleteA stylishFloor lampcan completely transform the ambiance of your home by adding warmth and sophistication. Vibecrafts offers beautifully designed floor lamps that blend modern aesthetics with functionality. Perfect for living rooms, bedrooms, or office spaces, these lamps create a cozy and elegant atmosphere while enhancing your overall home decor beautifully.